![How to Connect Arlo Camera to WiFi [Full Guide]](https://www.techcareblog.com/wp-content/uploads/2024/01/How-to-Connect-Arlo-Camera-to-WiFi-823x500.jpg)
How to Connect Arlo Camera to WiFi [Full Guide]
You are someone who is looking to enhance the security of your home or other properties, right? You have made a vigilant choice to surveil your belongings with the Arlo security cameras. But like other wireless security cameras, the Arlo camera also works over WiFi.
So, you should know how to connect your Arlo Camera to WiFi. Whether you are a first-time user or not, our article is going to guide you through a clear roadmap for a smooth and secure WiFi connection to your Arlo camera. So, let us embark on the journey to guard your living place with valuable assets.
How to connect Arlo Camera to WiFi – step-by-step guide
Things connecting Arlo cameras to WiFi should not be a task you should struggle with. So now we are going to guide you step by step and make the critical steps easier for you. Let us go to connect your Arlo camera.
Things to know before
Ensure these before you are going to connect Arlo to WiFi –
- WiFi network requirements: Ensure that your tablet or phone is linked to your WiFi router’s 2.4 GHz band. To do so –
- For iOS:
- Go to the Settings
- Navigate to the WiFi and turn it on
- You will find 2G / 2.4 / 2 mentioned beside the SSID. Select one WiFi with the mentioned things
- Then, enter the correct password
- If connected, a blue tick icon will appear on the left.
- For Android:
- Go to the Settings
- Then, to the Connections
- Now tap on the WiFi and turn it on
- Choose the 2.4 GHz network (2 / 2.4 / 2G mentioned beside SSID)
- Enter correct password
- “Connected” writing will be displayed below the network name
- For iOS:
- Band Steering: WiFi routers come with 2.4 GHz and 5 GHz bandwidth, and the band steering enables automatic switching with the best frequency band. This feature becomes problematic as you need to connect to the 2.4 GHz band only. So –
- Disable the automatic band steering feature before the setup
- Enable this again after you are done doing the setup
- Arlo Secure App: Install and create an account on Arlo Secure App. You can control the total Arlo security setup from this app
N.B: Arlo Pro 5s cameras do support 5GHz band
Steps on how to connect Arlo camera to WiFi
Follow these carefully crafted steps if you do not want any hassle –
- Open the Arlo Secure App
- Then tap on the Add New Device option
- Select your Arlo device and its model
- Now you need to follow the instructions in the app that will navigate you to complete the setup.
- As you are connecting your Arlo camera to the router, tap on Connect without SmartHub if the system detects any hub or base stations automatically.
- Then, click the Continue button to connect the camera to the 2.4 GHz WiFi network.
- To complete the device setup, respond to the in-app instructions
Congratulations, you have successfully reinforced your home security. This Arlo security camera is going to safeguard your surroundings. When you need to set up more Arlo cameras, please follow these instructions again.
How to connect the Arlo base station to the new WiFi?
The Arlo base station also referred to as the SmartHub, is the heart of the Arlo security system. Because without this, you can not store the recordings on any local storage devices. So, the Arlo base station is a mandatory component of the Arlo security system.
Let us add the heart of the system to the network now –
- First, connect the ethernet cable to your Arlo base station from the router
- The thing to mention is that you must connect the ethernet cable before powering up the base station
- If you power up the Base station before, then connectivity issues might occur, and you might fail to connect the base station to the WiFi
- The power up the base station
- Some models include power buttons. If there is any, then turn on the power button.
- Now focus on the LEDs
- If there is only one LED, then wait until it turns blue
- If there are 3 LEDs, then wait until the Power LED turns green
- Later, to complete the device setup, respond to the in-app instructions
Congratulations, now you can add more Arlo security cameras on the same network and save records with this base station. Enjoy the extended security features.
Arlo Camera not connecting to WiFi: reasons and solutions!
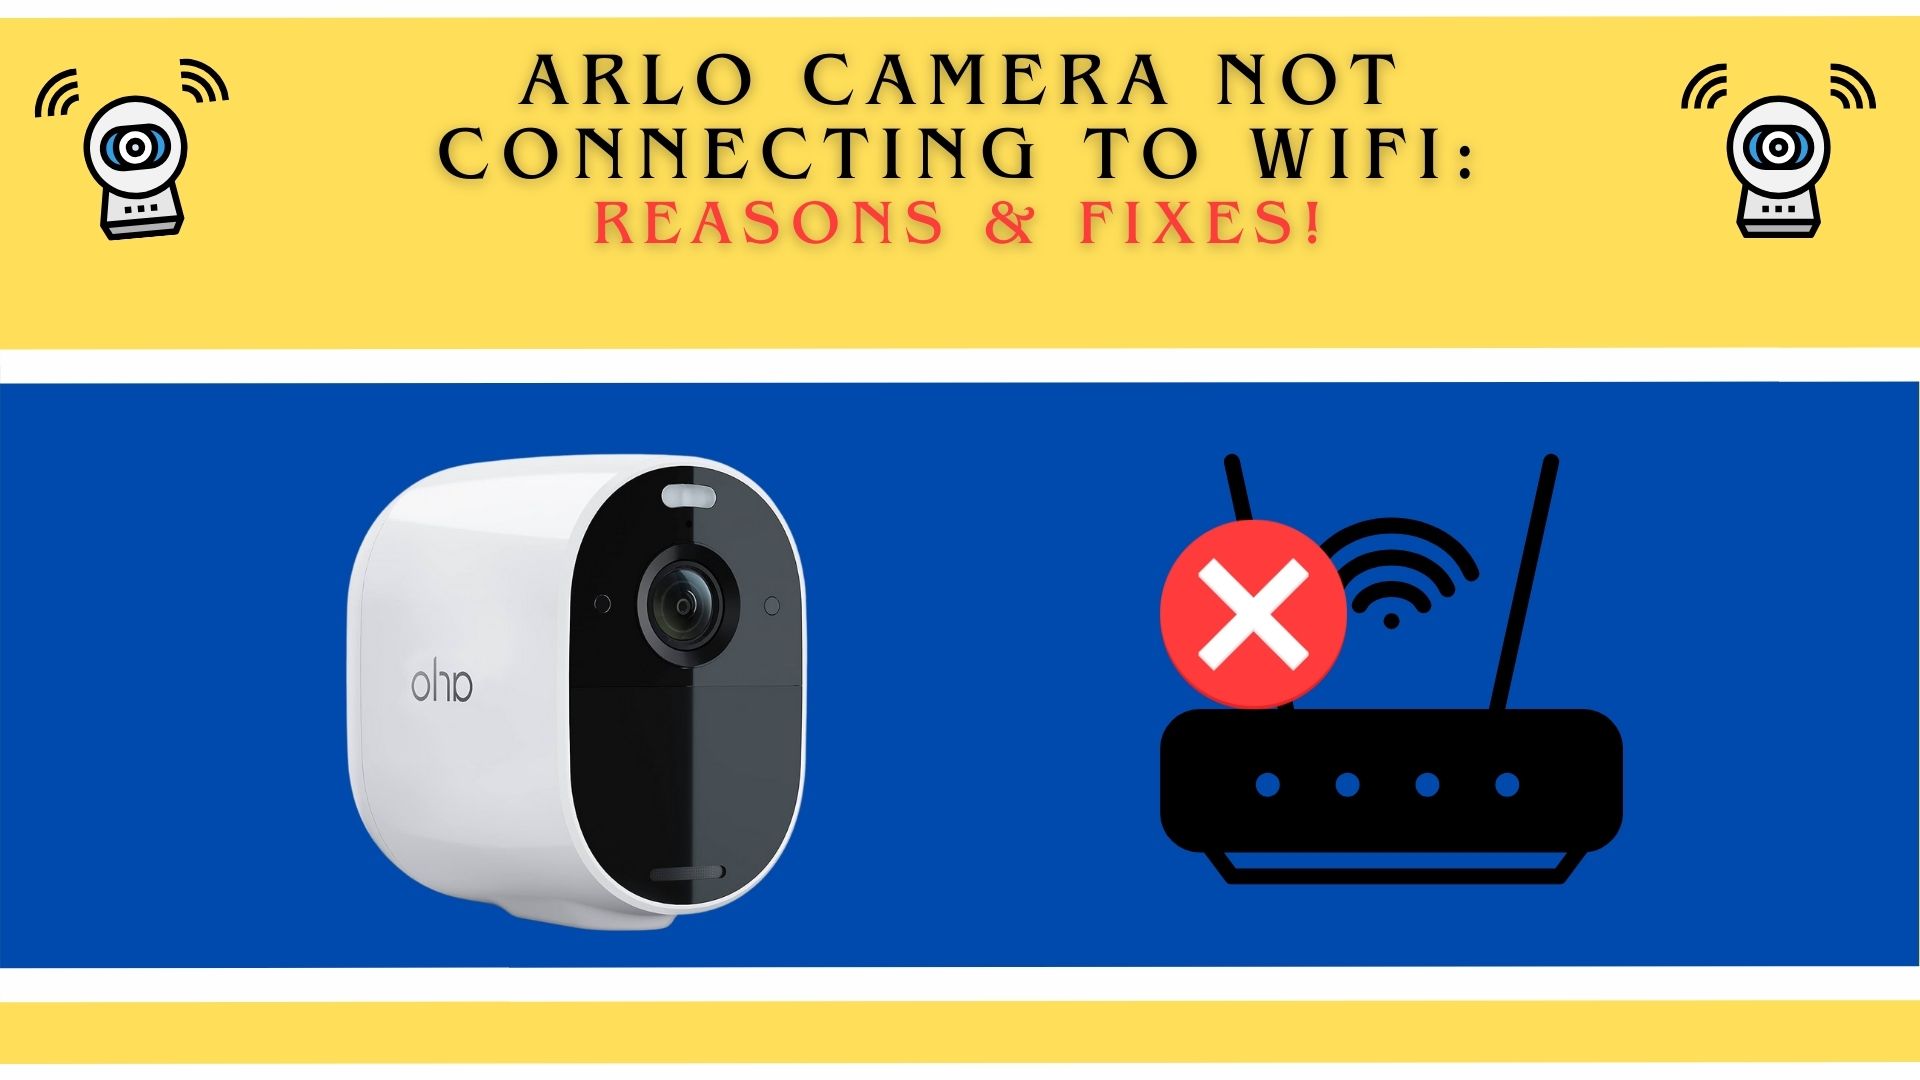
If your Arlo camera is not connecting to the WiFi, then there are a few reasons why it is so. Also, there are solutions to fix these problems. The possible reasons could be –
- You have selected the wrong network band (only Arlo Pro 5s supports the 5GHz band)
- Your Arlo camera is out of the network coverage
- The router firewall prevents adding new devices
- Using the wrong WiFi password
- Keeping VPN or Ad blocker enabled during setup
- Problematic WiFi network
- Power-related issues with the Arlo device
The possible solutions are –
- Try to power cycle all the related devices
- Connect to a 2.4 GHz WiFi network; otherwise, the Arlo camera will not function.
- Try to keep your Arlo camera within the WiFi network coverage. Otherwise, try to use a network extender.
- By default, the router’s firewall is set at ‘max’ settings. Set it to the ‘low’ mode.
- Sometimes, the router fails to read the device name and shows other random names that are trying to connect to your network.
- Accept that device as that is your Arlo camera
- Put the correct password carefully once again
- VPN and Ad blockers often hinder new connections to the network. So turn your mobile’s VPN or Ad blockers off for a while
- Check if your router is okay or not. The issues might be with the router and the internet.
- Try to factory reset your Arlo camera and the base station
- Please contact the Arlo support team if the device seems to be a faulty one
We expect that your problems will be solved now.
Closure
Your safeguard is on now, and you can be a little more relaxed because you have successfully set up the Arlo security system and have integrated an Arlo camera already.
We are expecting that our guide on how to connect the Arlo camera to WiFi has elaborated every process step by step and has made critical things easier. Your connectivity issues have also been taken care of, as we have discussed.
Be secure, be safe, and enjoy the smart surveillance of the Arlo security cameras.
Recommended Posts: